Showing posts with label Scanning. Show all posts

Saturday, June 1, 2019

Quain Courtyard pt 4, mild success

I have written before about getting game ready assets, but this time I approached scanning in a totally different way. Actually, I think it was ultimately a bad way to do this. Plus, I realize a lot of things here that simply need to be redone.
https://drive.google.com/open?id=1yHXE2Gp5NKyeFHSFZbfRDL9HpJDpTSiC

Note the screenshots are totally out of order. I've added captions for clarity


Unity's expert guide goes into various definitions of capturing different types of objects and emphasize collected different pieces. So I decided to strategize and break up the space according to... what felt right... and now I've learned what worked and what didn't.

I've talked about preparing game ready assets in my previous projects.
These are the steps I used this time:

1. In Zephyr, make a clean selection of the dense mesh. Generate mesh, then texture mesh.
2. Decimate the mesh to something reasonable. (*you could export out and retopo and UV here) Generate textured mesh again for the lo poly mesh.
3. Export both, and enable resize to single texture.

4. In substance designer, load both.
5. Open the lo poly mesh in the baker. Assign the high poly mesh.
6. Bake all maps

7. Import lo poly mesh and all maps into unity
8. Create new material (or dupe existing material to reuse settings) plug in maps

--

Overall, some combinations worked better than others.
this one looks okay
I thought I could optimize this asset by capturing around the edges...
...and filling in with a material. In reality, I'm not saving that many polys.
scan vs model

maybe both?
surprisingly pleased about this one, however the scan quality is lacking. but the two decorative pieces merged well.
too many things overlapping...


Things that are going wrong...
  • My world scale is so completely wrong. Photogrammetry is not a precise method and so, the reconstructions were all over the place. I should have centered all my assets before exporting. I found myself nudging rotations back and forth, baaaack and fooorth, scaling by 70-80% down, carefully eyeballing everything into place. Plus the Z-up axis didn't help. Actually I'm really glad I had the 360 reconstruction (layout pass) to help place everything.
  • ARGH!
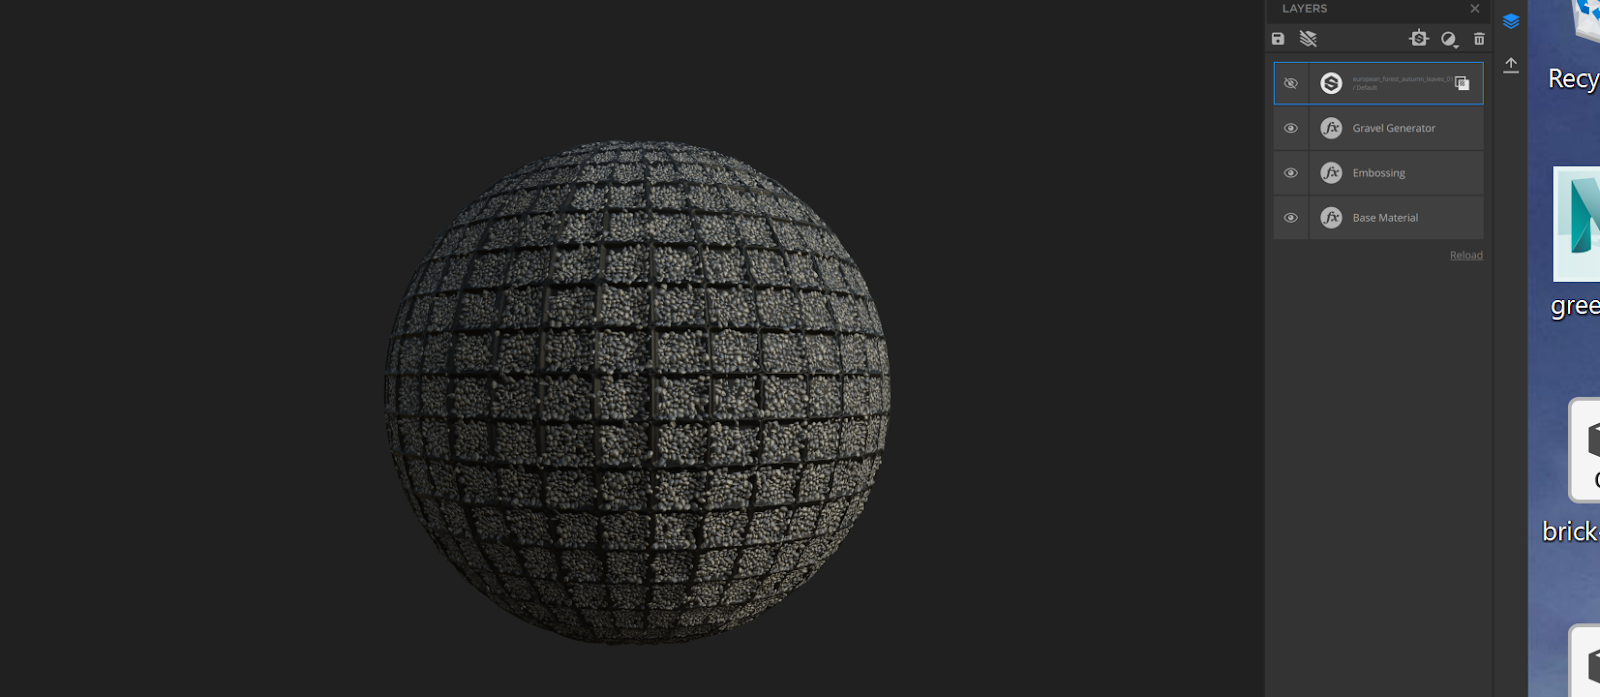
  • The materials I generated in Alchemist didn't totally translate over to Unity. I kind of expected that, but one thing I got really stuck on is the vertex displacements. The height maps look so pretty in Substance! And after some research, I realized you can in fact, do real geo displacements
    https://blogs.unity3d.com/2019/02/12/creating-an-interactive-vertex-effect-using-shader-graph/

    But right now I'm stuck on this issue
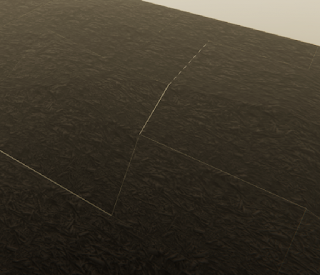
    the height separates the faces


    In which, increasing the height value does not displace the silhouette of the mesh, but instead, causes these separations between faces. I need to ask someone who knows more about shader devving to clarify whats going on.
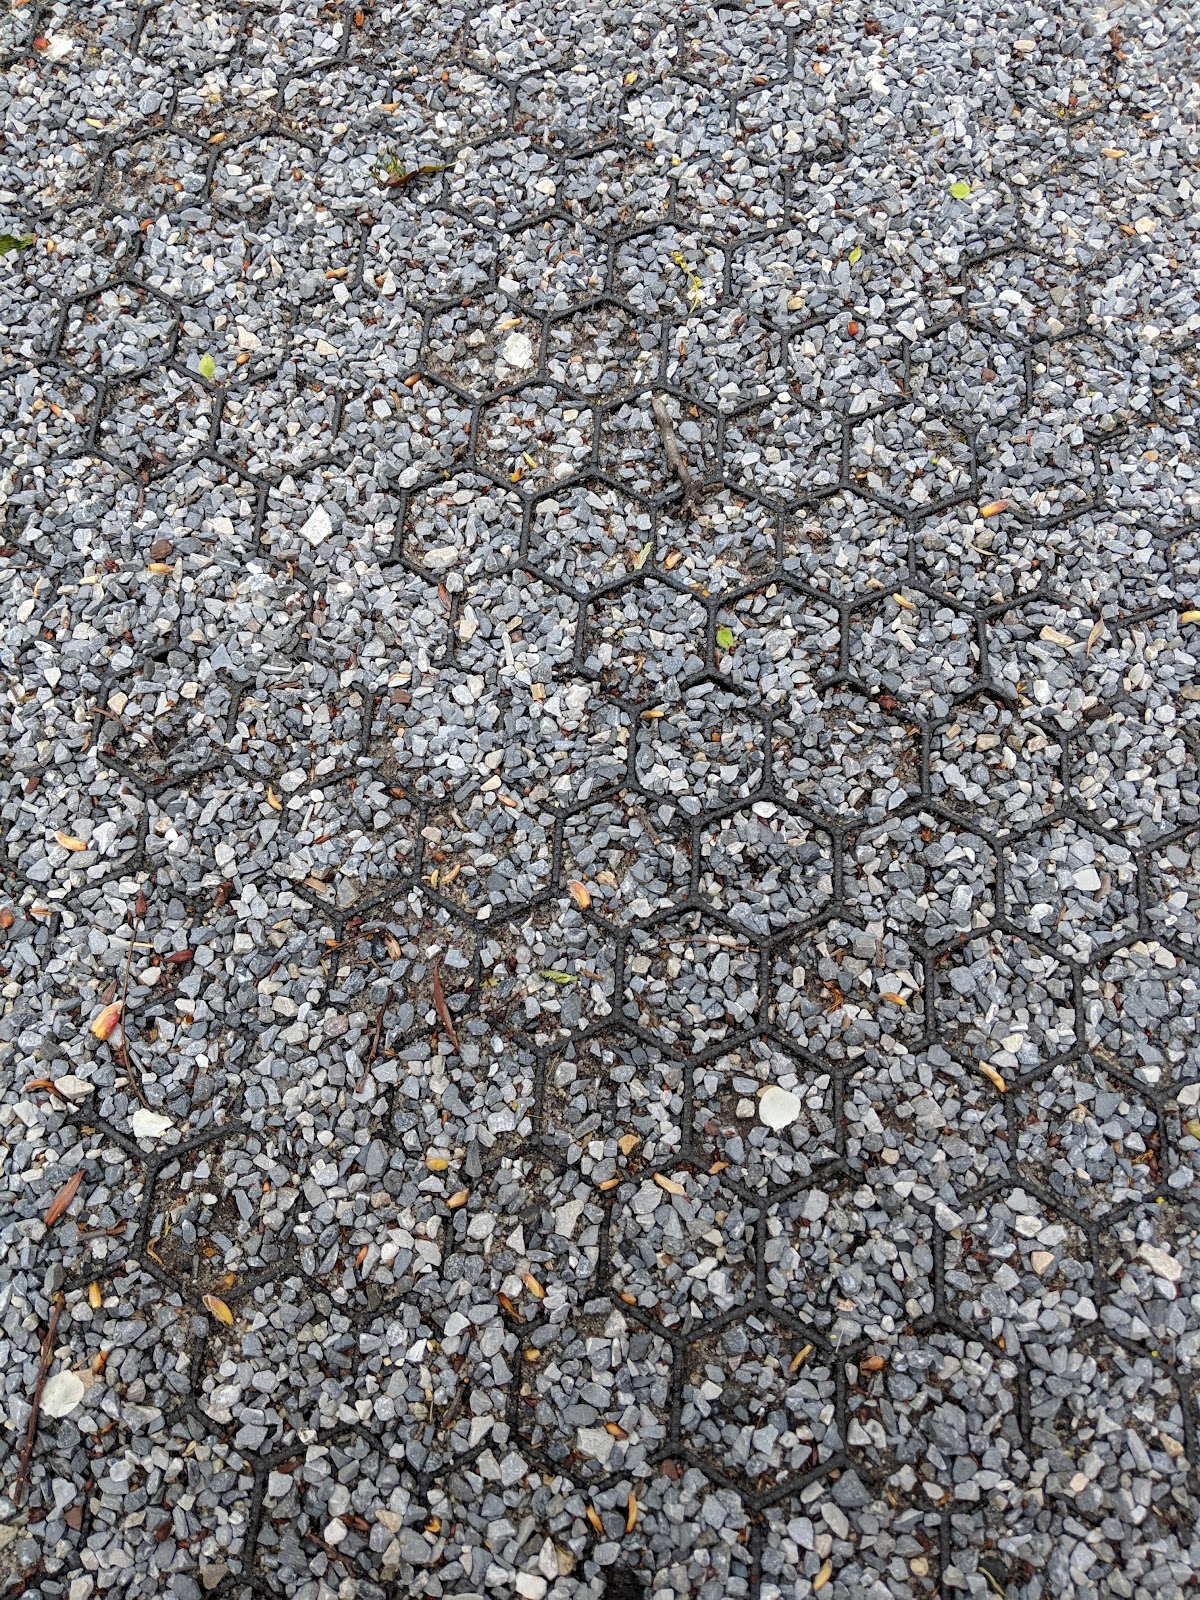
  • The other issue I had with material scanning was texel density, again, due to mismatched world scale elements. Currently, if the game camera is more than a few feet away from one of the materials I made, the repetitions become obvious. While yes, it is tileable and somewhat parametric document, I can't make up for the texel scale issue. That is, if I want my bricks to be brick sized, the material has to repeat dozens of times. Even in something as random as the concrete (which had an extra randomizing filter on it) the repetitions are obvious when they're far enough away.
    I should have listened to Unity, and photographed a meter square to ensure a meter of texel density.
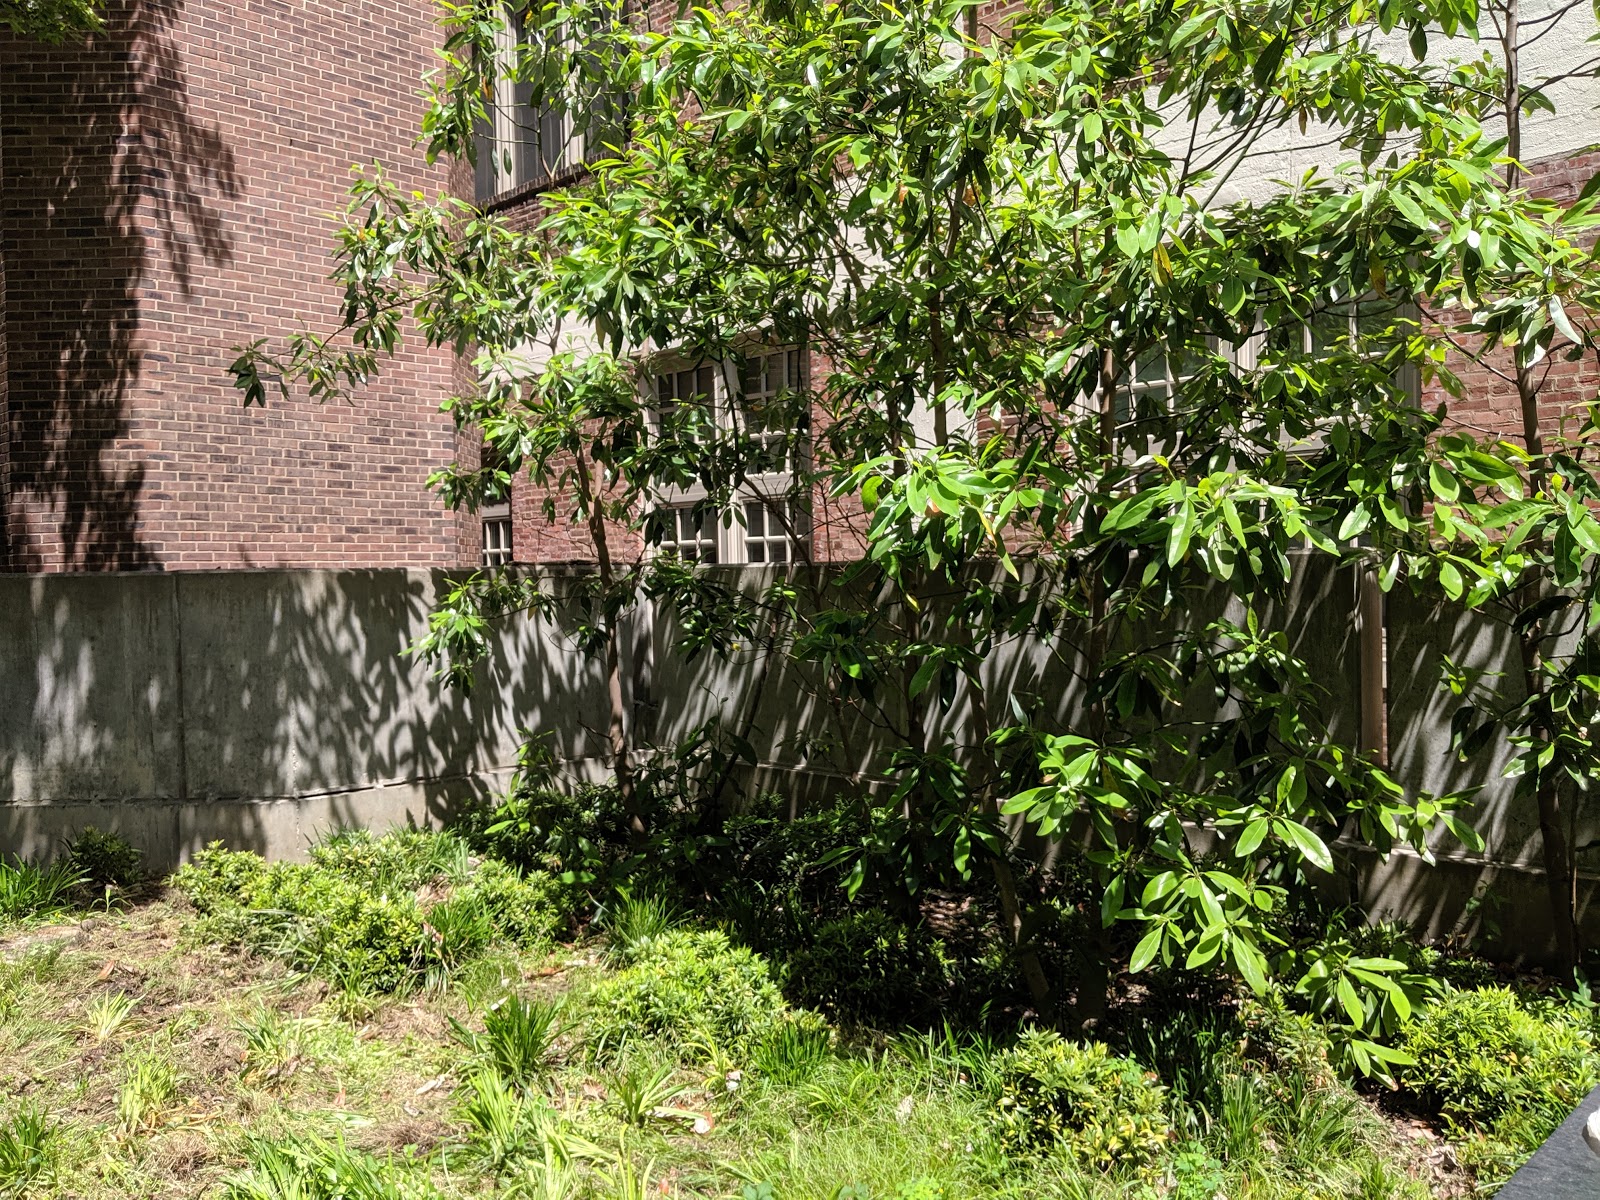
  • Foliage is totally out of scope.
Things that went right
  • The HDRP is a dream to work with. As the director of one of Unity's short film demos describes it: "High Definition Render Pipeline (HDRP), which — from an artist perspective — just automatically makes things look nice." https://blog.siggraph.org/2019/03/an-irresistible-way-to-make-films-using-real-time-technology-for-book-of-the-dead.html/
    • Actually this is a really exciting observation for the state of computer graphics... tools like the HDRP and Alchemist are helping things just automatically look nice. I'm here for it. 
    • She also uses the word 'opportunistic' to talk about her work. I love the idea of games being spontaneous, opportunistic, since it is traditionally such slow and unforgiving work.
  • The materials were gorgeous to look at anyways, and the Substance plugin was great to work with. Tri-planar projection solves SO many problems-- it improves on UV mapping (doesn't quite erase it except in simple scenarios), it unifies the world scale (so multiple assets can share the same material, plus a mesh can be scaled up / down without affecting the material). There are more features to talk about here, but all in all a total lifesaver. None of that back and forth targa export nonsense.
  • The layout pass (the 360 quick pass reconstruction) was EXTREMELY helpful. It served as a blueprint of the space to iterate on.
General takeaways.
  • Realizing most of these assets are better off modeled, like walls. 
  • Realizing that delighting is not just a 'clean' albedo, its also color matching and ensuring matched shaders. 
  • Realizing that polycounts are not as restrictive in my head
  • Restraining myself from brute force cleaning assets... I know I can make things look good if I sink hours into it... my goal is to determine best practices, not output a portfolio piece. 


Final polishing touches:


  • Water? in the foutain?
  • Obtain a HDR latlong image for the sky. Examples here:
    https://assetstore.unity.com/packages/essentials/beta-projects/unity-hdri-pack-72511
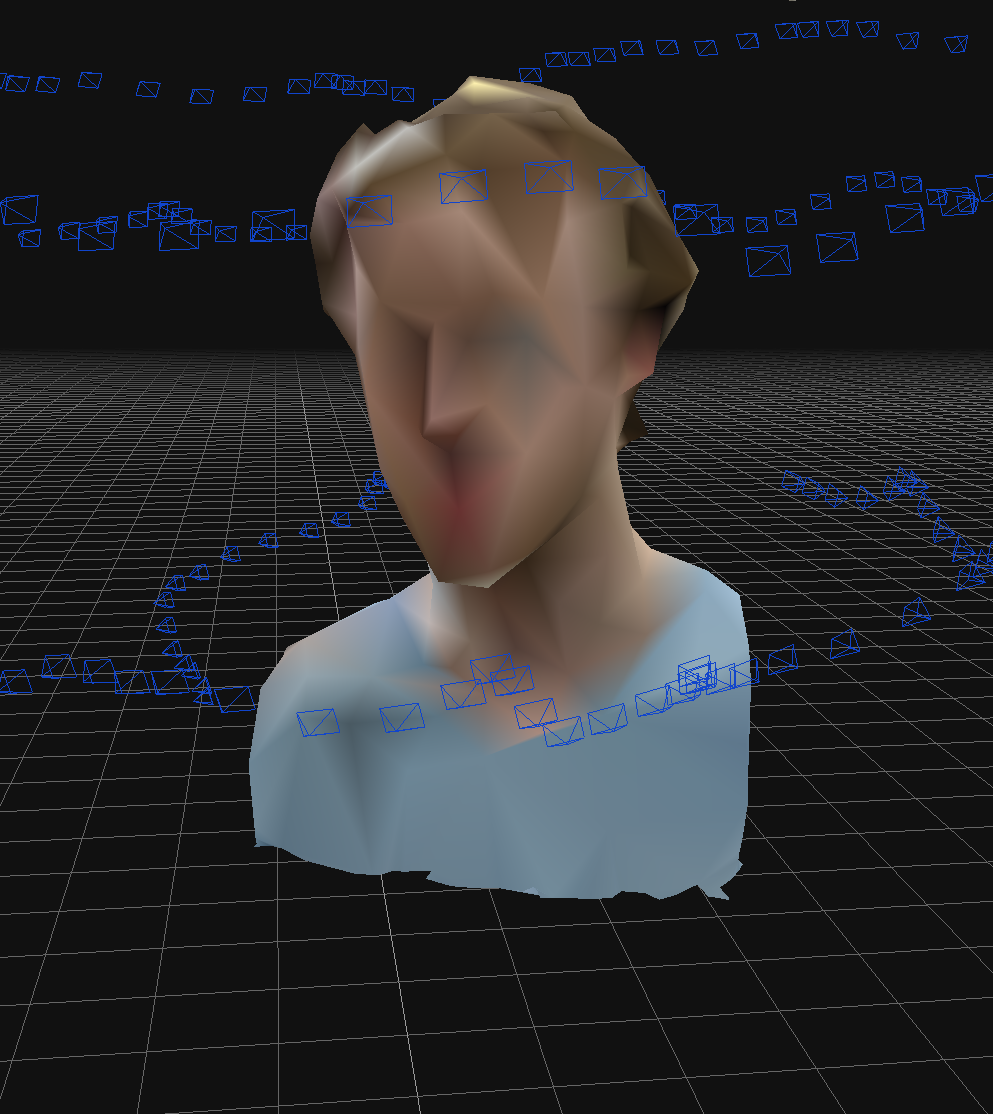
  • While I'm at it... actually I just wanna reshoot the whole thing again. This video from Gnomon https://www.youtube.com/watch?v=IU5XTtS6ALk demonstrates capturing an indoor, architectural space for VR. This trailer goes through the whole process in a timelapse.

    Looking at the camera icons, he just brute force shot a ton of photos. We can see some individual assets are processed, but mainly, he's working with this giant dataset. This is kind of opposite to my approach this term so I'm really interested in replicating it, especially with the 360 camera.


Wednesday, May 29, 2019

Quain Courtyard pt 2 scan material processing

I had a successful shoot day!
It was rather bright outside, so I had to deal with a lot of harsh sun and directional shadows.
I took a lot of notes as well, and recorded sound.


First I wanna talk about Photoshop's 'Photomerge' function... it's a tool I've been using more lately especially with Alchemist. Its a simple photo stitching feature. Under File>Automate.
It's gotten better than what I remember 5-10 years ago. It keeps all photos on separated layers with masks, and looking at the chunky shapes, the stitching is rather sophisticated.

I would like to, in the future, use a tripod and carefully measure out and scan a large area for material capture. However, I got successful results from just a handful of photos (5-8 or less). I can also repurpose the photogrammetry batches of photos (intended for geo reconstuction).


I was able to make this material kit in about a day. I love Alchemist's "Generate Board" feature, which quick exports your material collection into a thumbnail sheet.


The four slate textures were especially fun... in the courtyard, there are four types of slate tiles. I started with two types of slate, pulled from photos. Then used their "Pavement Generator" to define two types of tile patterns.


There are still some frustrations with this Beta release... it will crash on saving, and is a little slow on my laptop.

Something important to mention was that part of my capture day I took a couple of 'reference photos', wide shots of the area or in general, any photo that documented the qualities of the space and were not intended for reconstruction. These were especially valuable, as it helped inform some of my color choices.

I've been feeling a little overwhelmed about asset generating, but I recently rewatched the Star Wars Battlefront GDC talk. Their level kit contained like, 8 assets. They were simple enough that they could be scaled/rotated and repeated throughout the environment. Quality over quantity! And my favorite quote is still that the experience of going on location was more valuable to the artists than the data itself. It's time we stop making CG art based off of Google Images.

Thursday, May 16, 2019

More on Material Scanning... with Substance Alchemist!

I'm very excited to talk about Substance Alchemist, it has really solved a huge chapter in my reality capture explorations.

The methods I had previously researched for material scanning were tedious and required a lot of manual labor. Out of all the scan based material authoring methods, I can generally group into two procedures: one is using only photo data, and the other is using geometry from photogrammetry.

Photo-only: https://www.youtube.com/watch?v=kDMz6djZCkc
Geo baking: https://www.youtube.com/watch?v=HMPZV_Se8W0


I had plans to compare geo based workflow to photo based workflows... and I was getting stuck on the amount of time needed. To pull maps off of a photogrammetry reconstruction, I need to re-topo and UV a clean mesh first. This is fine for one or two materials, but to process more than that would be a lot. 

The other documented method recommends building a scan box to control light, which is cool, and provides a lot of accuracy. If I was scanning a large batch of say, fabric samples that are all roughly the same size, this would be awesome. 

It's DIY but it's also pretty complicated. 
However, applying it to shooting on site, usually outdoors, sometimes vertically... I'd have to engineer some kind of portable scanbox and probably have an assistant to help with lighting. 

Throughout all this research, I came across Substance's announcement for their new Project Alchemist, which threw all the above out the window. 

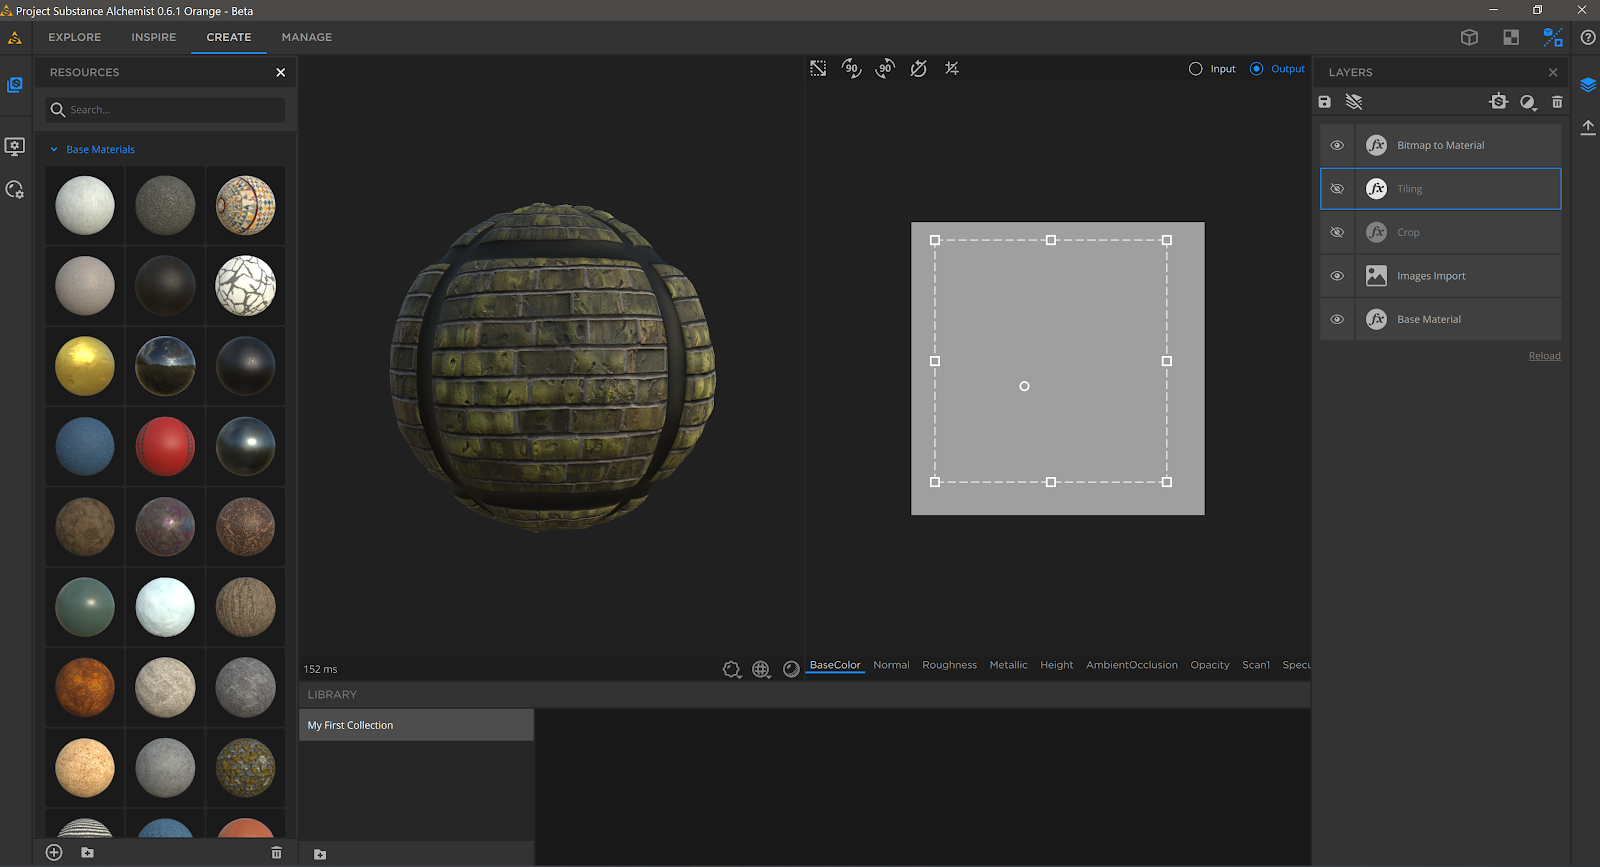
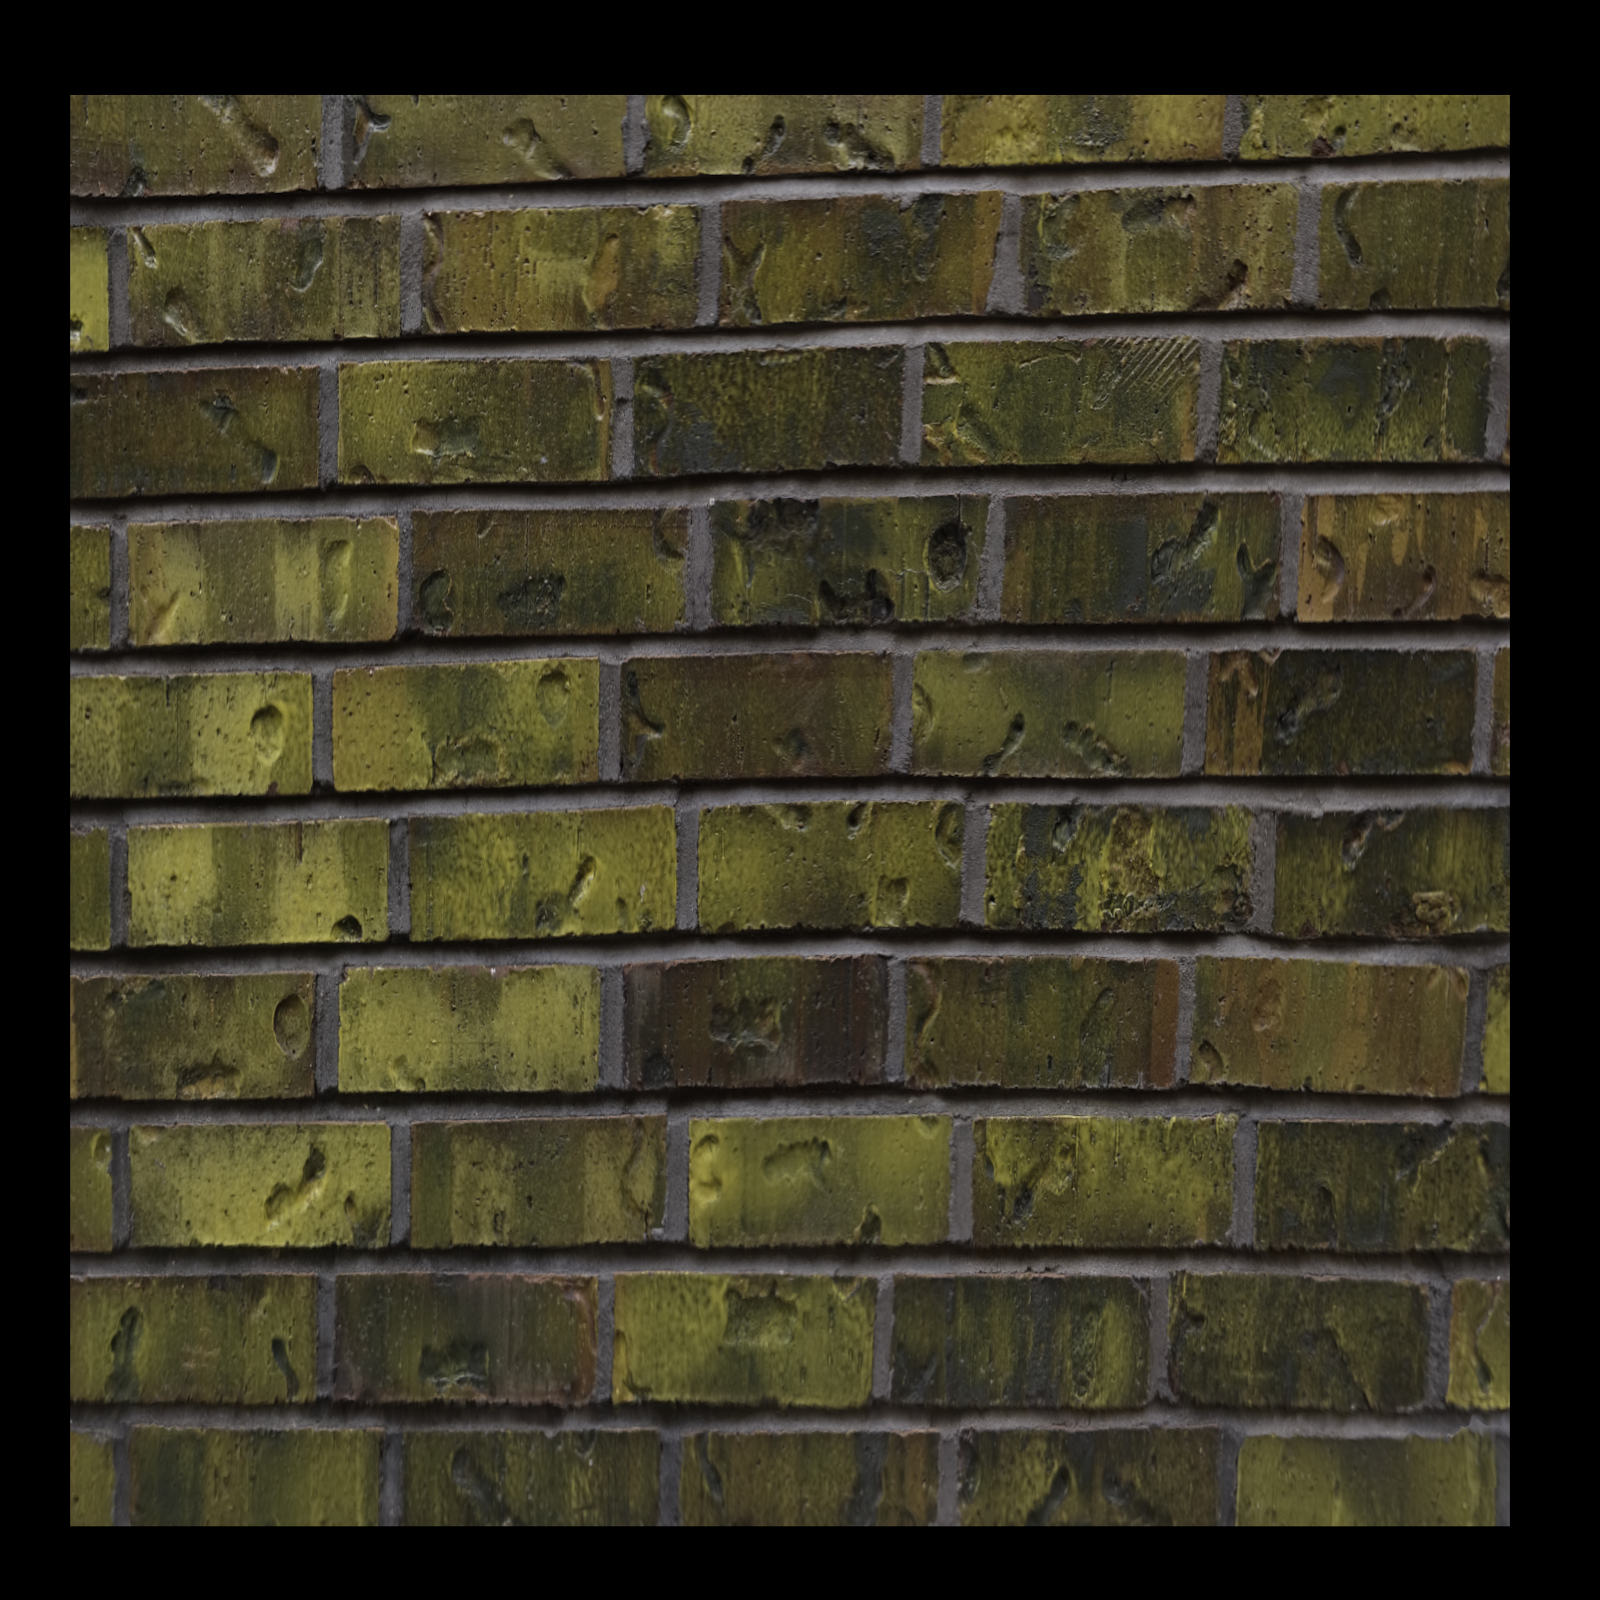
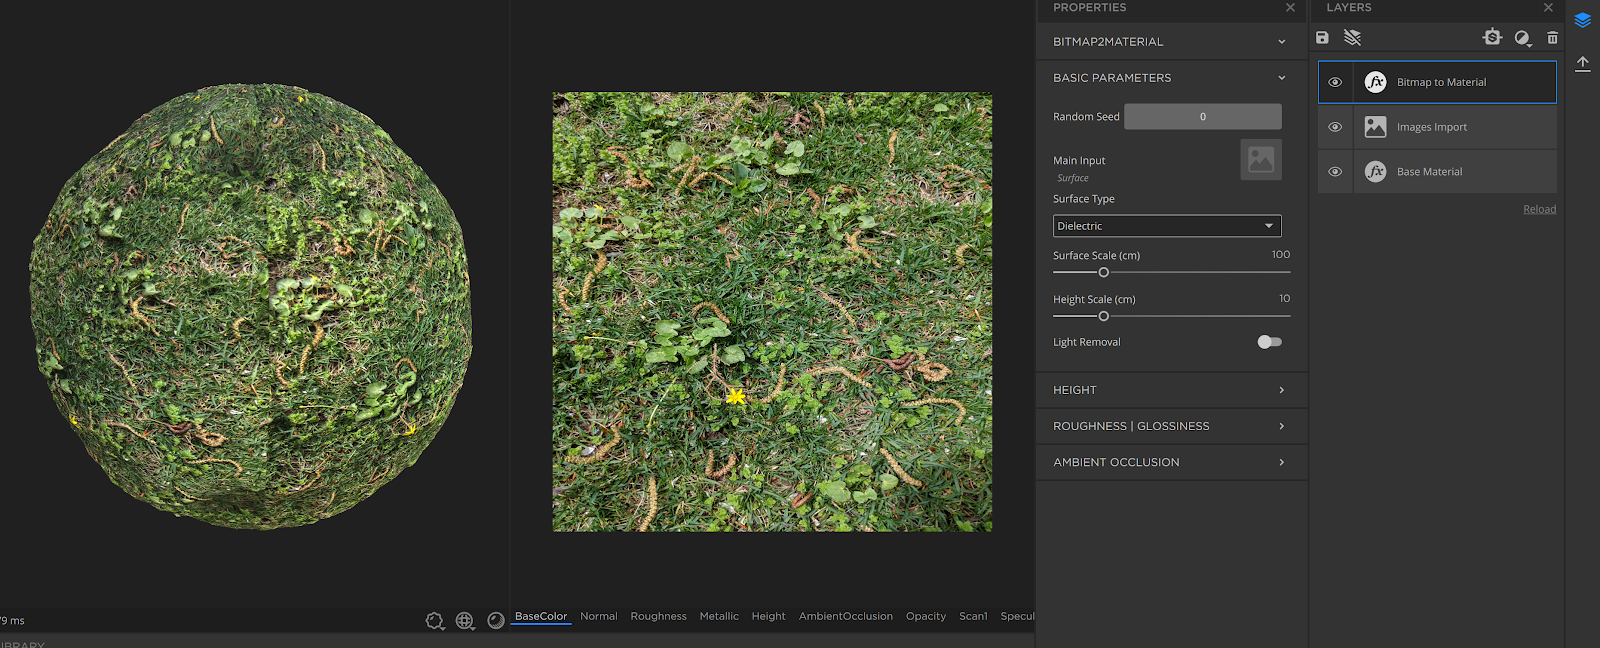
I took my baked brick photo texture, literally drag and dropped it into a new document, and immediately got this:


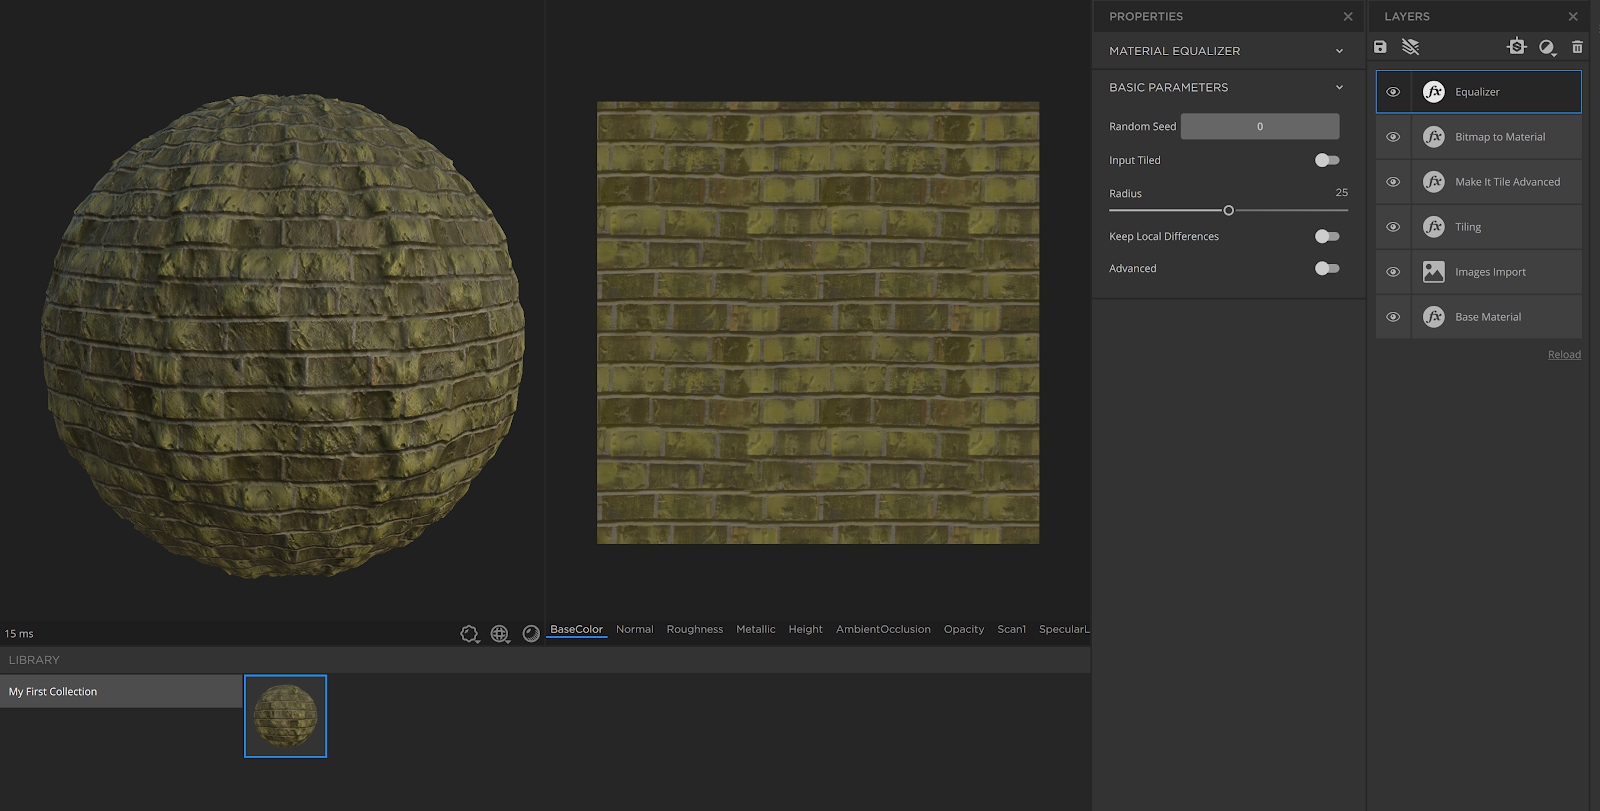
A few minutes playing with the auto tile feature...


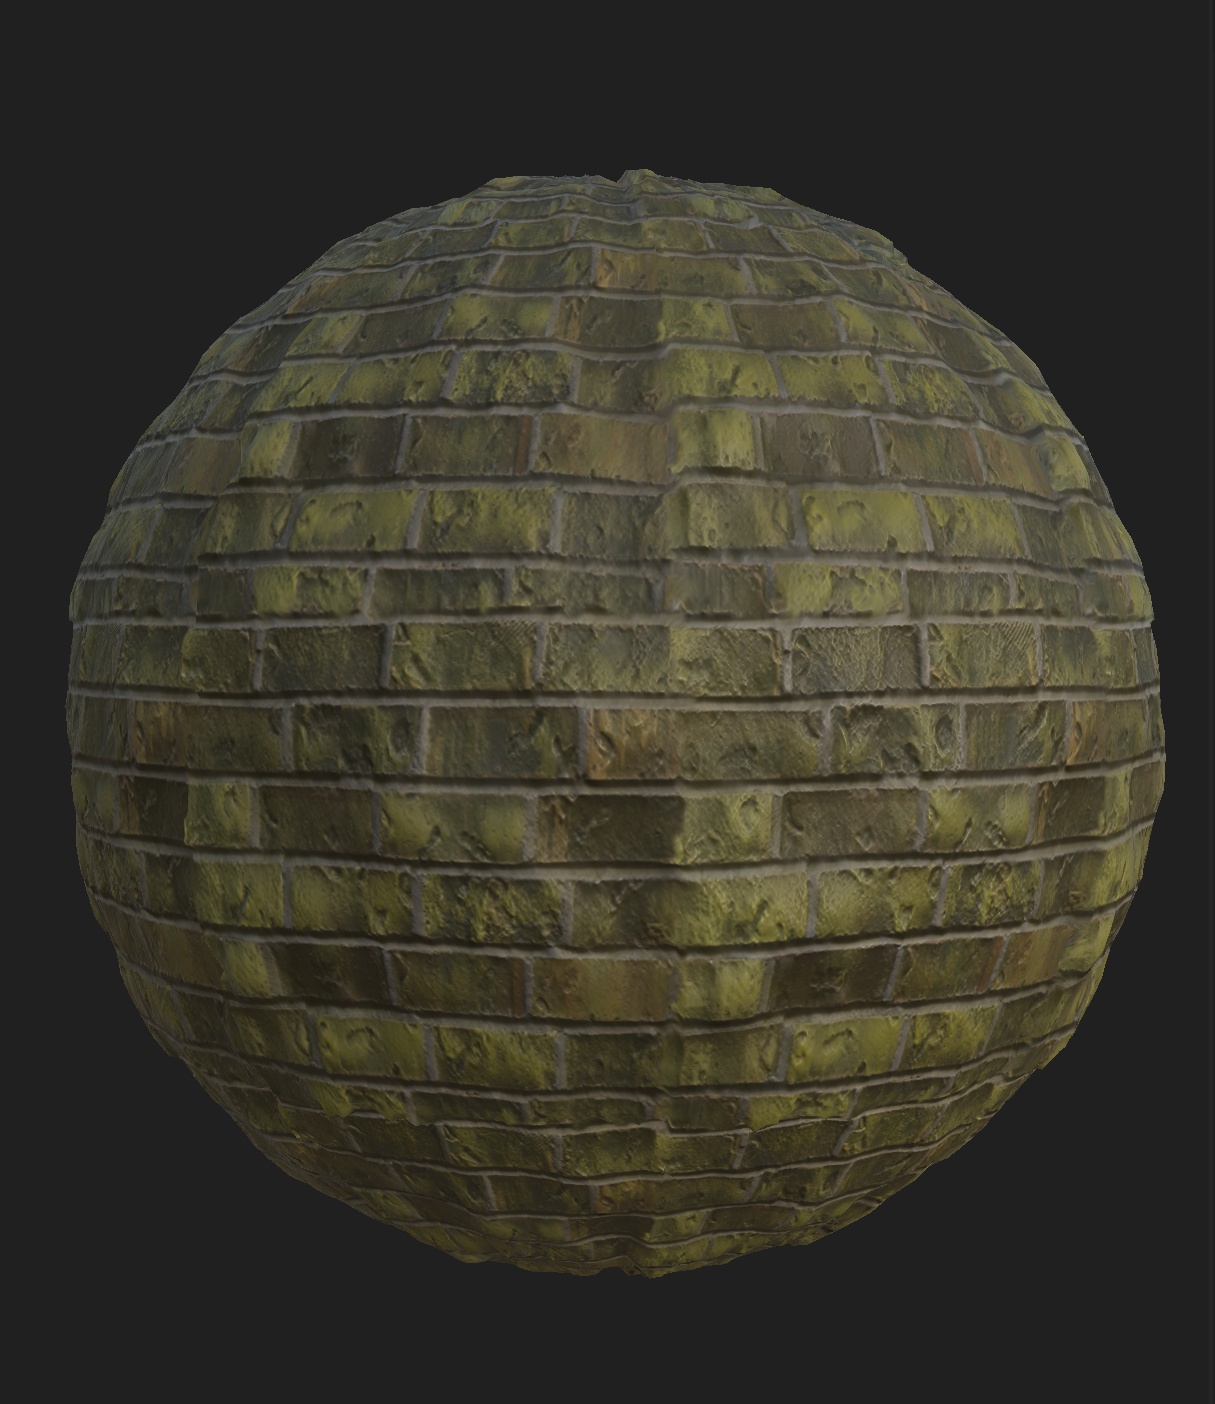
At around 20 minutes I had this. It's by no means perfect, but holy shit it was FAST. And easy to pick up.  Everything in the Alchemist document is parametric, so I could revisit and re export. (Like any Substance product, I can export all the PBR maps as image files.)


Here's the thing... one of the reasons it wasn't perfect was because I was using a re projected texture map rather than a straight photo (above) so the data already wasn't clean. If the bricks weren't distorted, I think the material would be ready to use.

So I took a few more minutes and generated more.


Here I'm correcting the perspective in Photoshop first.


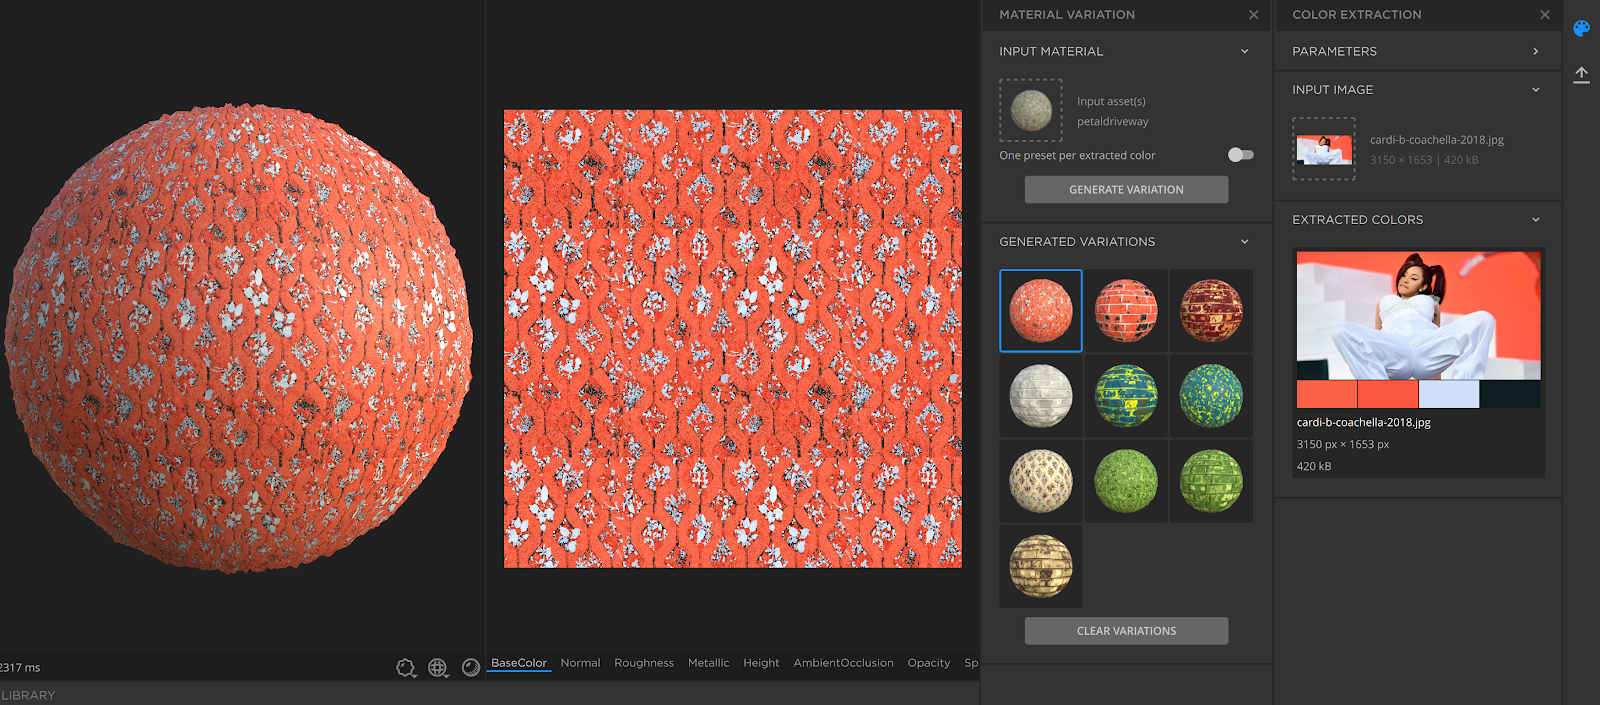
Alchemist has a feature which generates variants based on color pallets pulled from images. I could see this potentially being used to color correct a large batch of materials with an existing pallette. It's also fun.


Here I gave myself a challenge to replicate one of the materials using NO imported images and only the built in, parametric tools. This is how far I got in about 10-15 minutes.


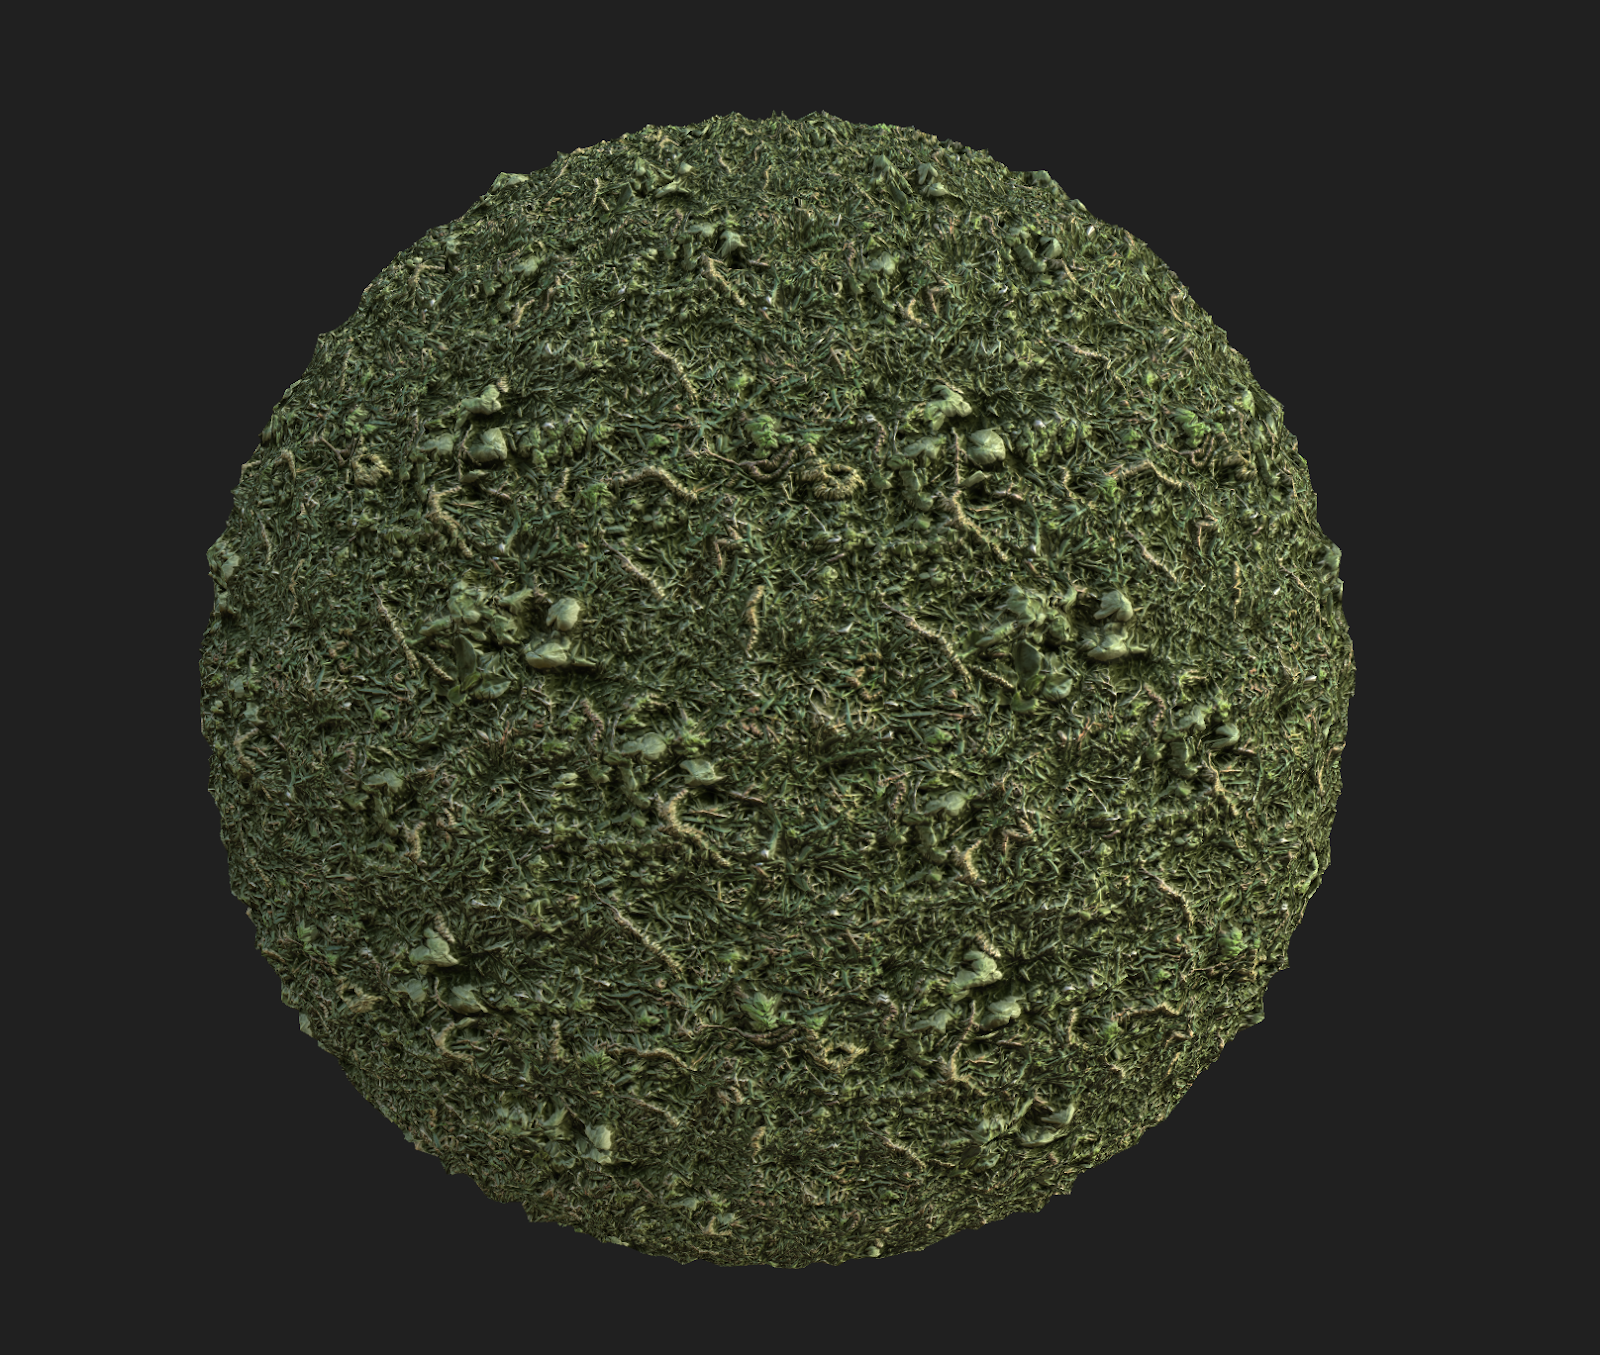
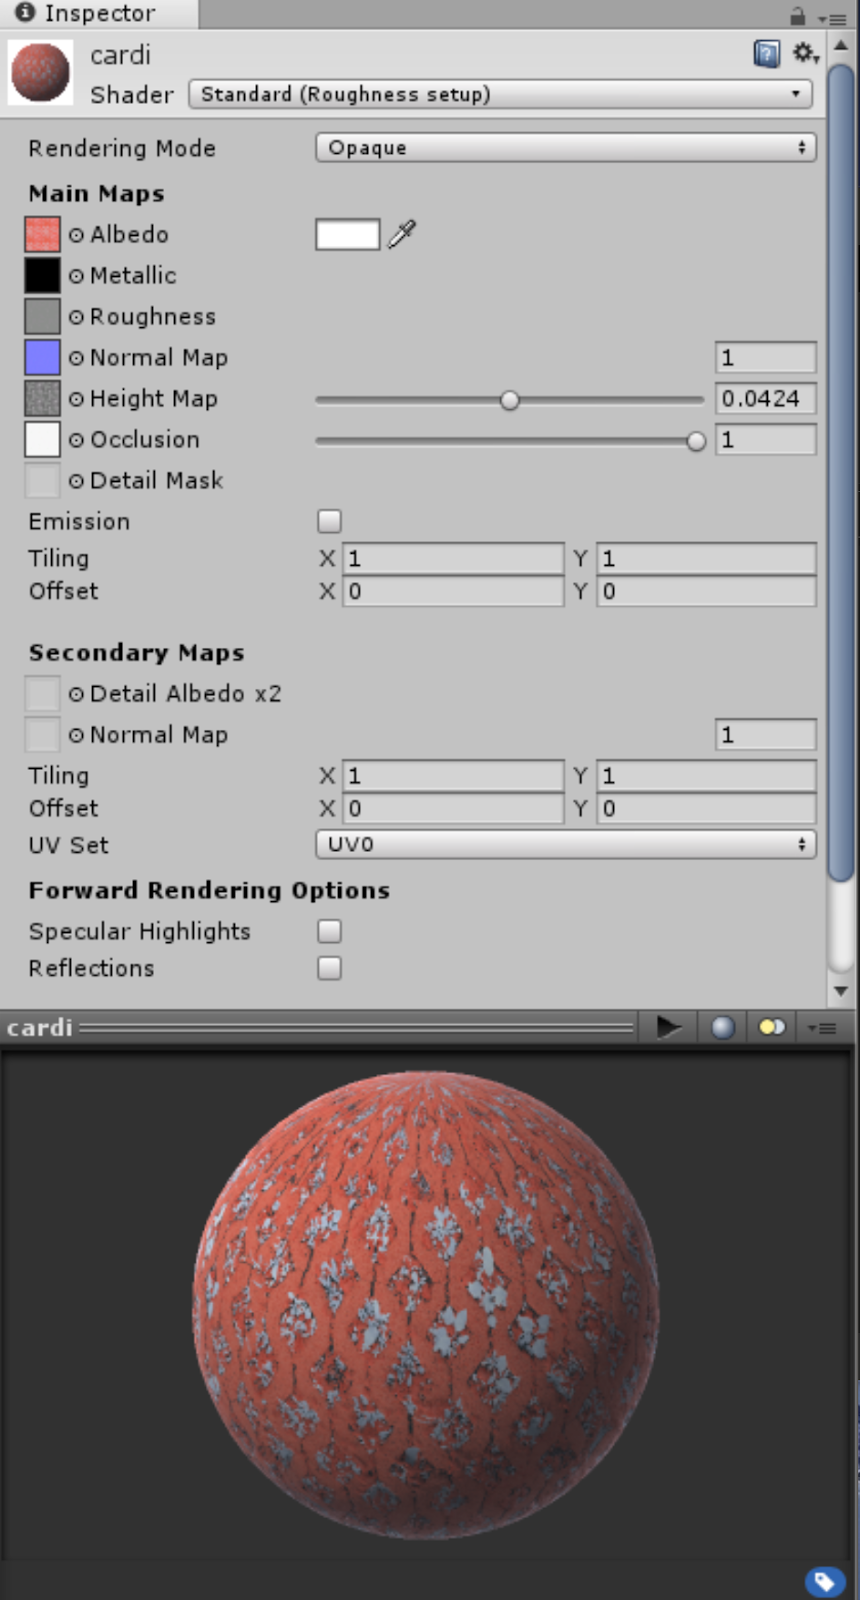
Lastly, I tested the maps in Unity with its standard shader.
 

It's never as pretty as in the Substance viewport, but the import works and is very straightforward. I'll have to play with Unity shaders a bit in the future.

Tuesday, May 14, 2019

Hologram Portraits

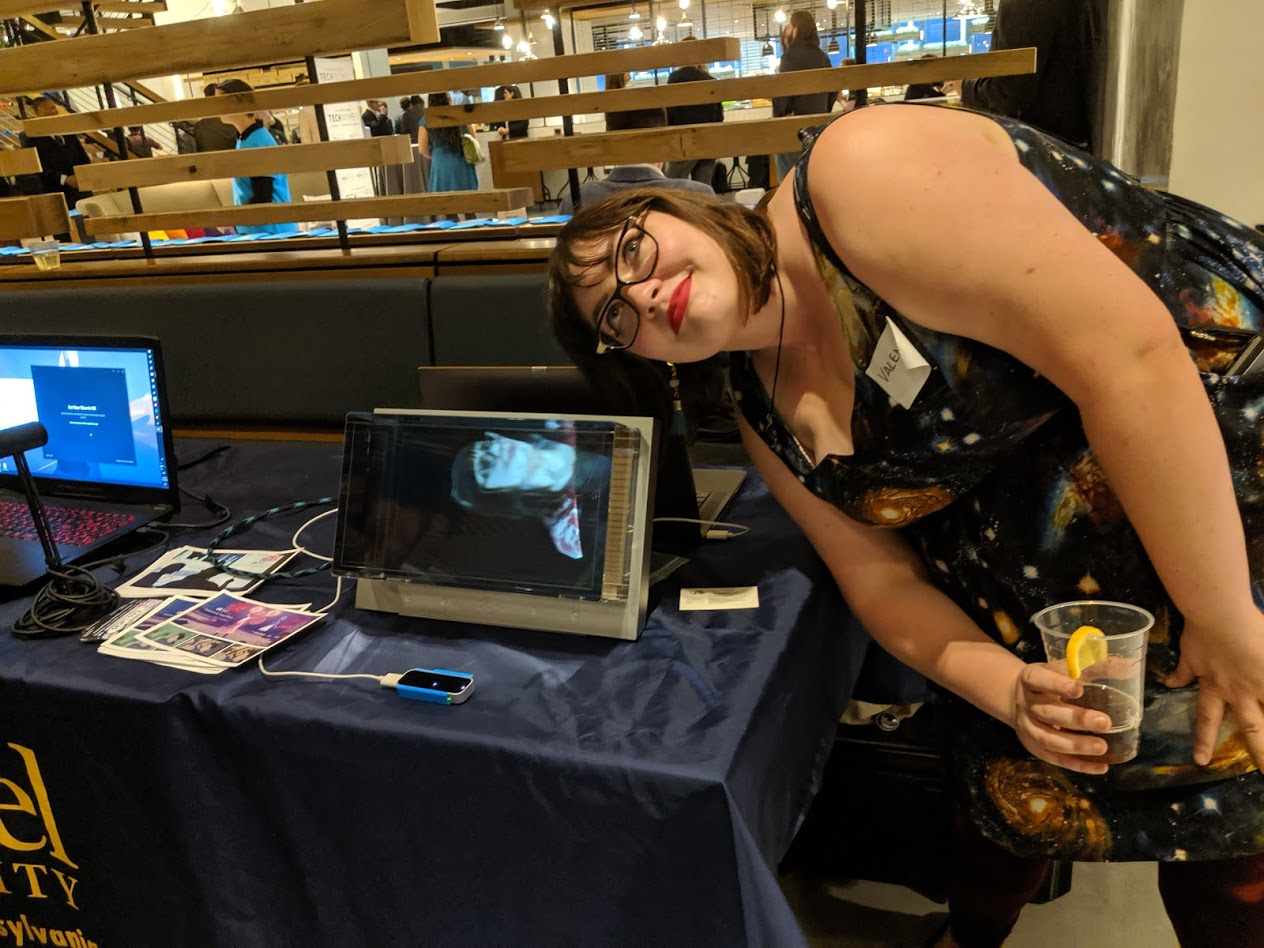
I got to show off my scan portraits the other day on the Looking Glass holo display. I used a pre built app to display the models, and paired with a Leap Motion, I could pinch and rotate/zoom in on the models. 


It was really great to share this with others, especially when it was someone interacting with their own portrait. Sometimes I get really lost in the bigger projects and research ideas, so it was a good feeling to come back to simpler ideas like these portraits. Everyone loves a portrait. They're so fundamental and human.

The only issue was running the display off of my laptop, which has an NVIDIA graphics card but still lagged. 

To prepare the models, I first decimate the mesh to under 1000 verts (about 300 polys). I do this right in Zephyr.


Friday, March 22, 2019

The Cemetery Hill - Final write up


Above: a screencap of the cemetery hill environment in Unity.

  • The fence is a geo asset reconstructed from scanned object data
  • The ground is a tileable material asset reconstructed scanned ground data
  • Audio is white noise was recorded same day on location
  • A particle emitter to mimic seedlings being blown off a tree (documented from that day) to demonstrate dynamic shadows
  • Statue is a previously scanned asset (reconstructed from scanned object data) which is NOT true to the location to demonstrate combining scanned assets
  • a default cube, for lighting comparison
  • Lighting setup is a simple directional light and gradient skybox. 

Critical analysis:


Bad input = bad output
  • There are obvious issues in model and texture quality, which can only be solved with better data capture. Admittedly, I began shooting this location in the late afternoon, which made me feel rushed. The benefit was that it was cloudier (therefore, more diffuse lighting) but I relied too much on burst shutter mode and was sloppy in photographing.
  • This brings up an important point: I wish I spent more time in the data capture phase of my research for this term. I don't feel closer to perfecting the (already documented) methods, instead I felt rushed to output assets and get back into software side. In the end I didn't feel ready to talk about rendering because I was being sloppy upfront and not testing all the tools I have available to me. Bad input = bad output, and there are no good renders without good data.
The tileable material doesn't look like ground
  • Yeah, see above. Need a tripod, manual shutter, and more time.
  • There was also a lot of wind that day, which is not an ideal condition.
The statue looks out of place
  • This is another case of bad input = bad output, but I can get a little more specific here. First, this was shot on my phone instead of a proper DSLR. The albedo was not completely clean and color matched to the scene, however with more time both of these can be finessed to perfection. In my last post I demonstrate how I can use Substance Designer to achieve a clean albedo, then reuse the template on different assets.
The seedlings are just planes
  • I know, it's placeholder. This kind of asset is an example of something that would be better box modeled, and for this demo that's a skill I didn't think was necessary to demonstrate. Plus, the real reason this was included was to show something animated with dynamic shadows.

Successes:

I'm happy with the way the space is taking shape
  • The organic feeling (that usually takes SO long to replicate) is almost instant in scanning. The space has a distinct 'character' to it that feels natural. Popping the white noise track in made the whole scene come alive. Plus, the process on this project has been FAST, this is the product of less than a total week of work hours. 
I'm happy with the direction of my research
  • I am starting to see the path of how to get from where I currently am to here https://www.youtube.com/watch?v=hCeP_XUIB5U. I think it's important to emphasize that I am still replicating these scanning methods (which Unity has thoroughly documented and published). It turns out that there are already some pretty big shoulders to stand on. 
  • I've greatly enjoyed working closer with Unity and realtime art-- something I was never formally trained in and want to continue learning. 
  • Posting about my work has helped me get involved in other scanning projects around the school, and there does not seem to be any shortage of them. 
--

Looking ahead to next term, I hope to be able to increase the quality of scans and get results that are closer to the Unity Fontainebleu demo. 
I would also like to define a more specific and meaningful production that would fit into the thesis model.
I am not so worried about producing an effective tech demo as I am about making interesting interactive art. One fear I have is that I am entering my third term without having any discussions about art making and art direction. I hope this is to come before its time to propose our thesis. 
For that reason, next term I am hoping to continue researching best practices in scanning tech, but also look into areas such as installation art, interactive art, VR. 

Monday, March 18, 2019

The Cemetery Hill - proof of tech

One thing that I like about working with scanning is that it is easy to work iteratively and BIG to SMALL. It's easy to quickly generate a sparse pointcloud of the entire space (esp with 360 cameras), then refine per object to smaller, denser pointclouds. Then lastly, each asset can be optimized and made beautiful for a realtime environment. 

I feel good about ending out the term with a workflow that makes sense and can show results in just a couple of days. The Cemetery Hill project is just at the beginning, but the proof of tech can already be presented.

Putting it all together


On my fourth day working on the new dataset from the graveyard-- this process is so fast. 

In my last post I experimented with using control points to merge multiple chunks of data. There were two methods (same steps, different order of operations) and I predicted that recalculating the entire workspace with all cameras included would produce better results. I did that, turned up the settings to high details, and let it process overnight.
As you can see, the results are gorgeous 😍

To compare, here is the dense pointcloud processed with default settings and without recalculating the entire workspace. 

And from another angle


Sunday, March 17, 2019

Even more on de-lighting

I wanted to build on my notes from before, to inlcude what I've worked with over the term.

Capture Best Practices

Good input = good output
It helps to shoot subjects on cloudy, overcast days. Or with diffuse lighting.
There is a tradeoff however, sometimes harsh lighting helps generate a better mesh or better surface details.

The stitching software does some amount of color correction. This is all under the hood.

Geometry Dependent Methods

The 'traditional' and more accurate way to delight a base color map would be to totally recreate the lighting conditions, to match all the realworld shadow data, then cancel them out. However, researching other methods has led me to believe that not only is this tedious, it is no longer industry standard.

Image only Methods - stripping light/shadow from base color map

Saturday, March 16, 2019

Material Scanning

Notes from this tutorial:
https://www.youtube.com/watch?v=kDMz6djZCkc
https://www.youtube.com/watch?v=dcswz_vYjiQ
https://www.youtube.com/watch?v=1W2VWCehgGg


The end results are technically correct-- tileable PBR maps all exported. They're even de-lit and color corrected.
However, the input data was sloppy. Would like to shoot again with a tripod.

See my notes after the jump.

Merging Multiple Scans with Control Points

I have begun again with a new location. This time, atop a hill in a cemetary.


Friday, March 8, 2019

Following the Unity Documentation

My goal is to bring everything into Unity and experiment with the data in a game rendering environment. According to my notes these are my next steps:

  • Export high res mesh, lo res unwrapped mesh, and re-projected color map out of Zephyr
  • Use something to bake mesh maps (Substance, xNormal) 
  • De-light the color map (Unity plugin, Photoshop, both)
  • If applicable, develop tileable maps for custom material**
  • Bring all into game engine

I keep getting stuck on little details within the process. Export settings, incompatible file formats, etc. But I have a bit of a mental block to get over as well.

Unity Photogrammetry Guide

I have mentioned this talk before: https://www.youtube.com/watch?v=Ny9ZXt_2v2Y
and I have even mentioned the delighting tool that this team published.

But I hadn't put two and two together. Turns out there is an AMAZING photogrammetry guide that was published under this Unity research team. It is over 40 pages of best practices, equipment, and general documentation. https://unity.com/solutions/photogrammetry

And just look at their tech demo 😍 https://www.youtube.com/watch?v=q2Z1oiFDKI0


Thursday, February 28, 2019

Pointcloud Meshing with Seperations, pt2


I spent a day building a low poly model for the smoker deck environment. I UV unwrapped everything, then imported everything (as a combined .obj file) into Zephyr. I followed my documented steps from before on reprojecting.
The results? Lots of issues. I am kind of frustrated.


Monday, February 25, 2019

Pointcloud Meshing with Separations, pt1

Something unique to scanning a room scale environment is the process of meshing the pointcloud into separated pieces. I decided to run some tests with re-projection on a smaller object.


In virtual environments it's important to remember that we are building a fictional set, and not an accurate representation of the world. Typically, the background is a skydome. There may be elements on a billboard/card. As objects are closer to the foreground, they require more accurate models and texture details. 

Quain Courtyard pt 4, mild success